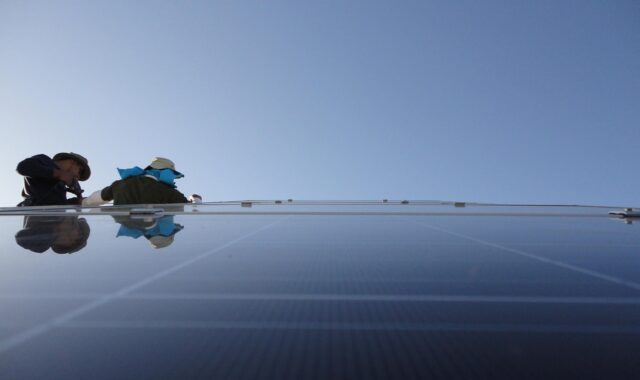
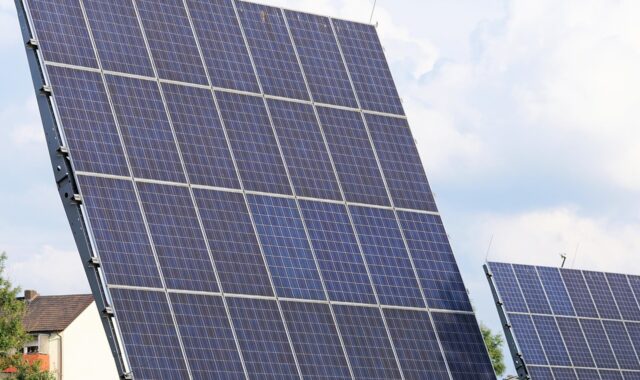
Installing solar roof vent fans without causing roof leaks or airflow problems
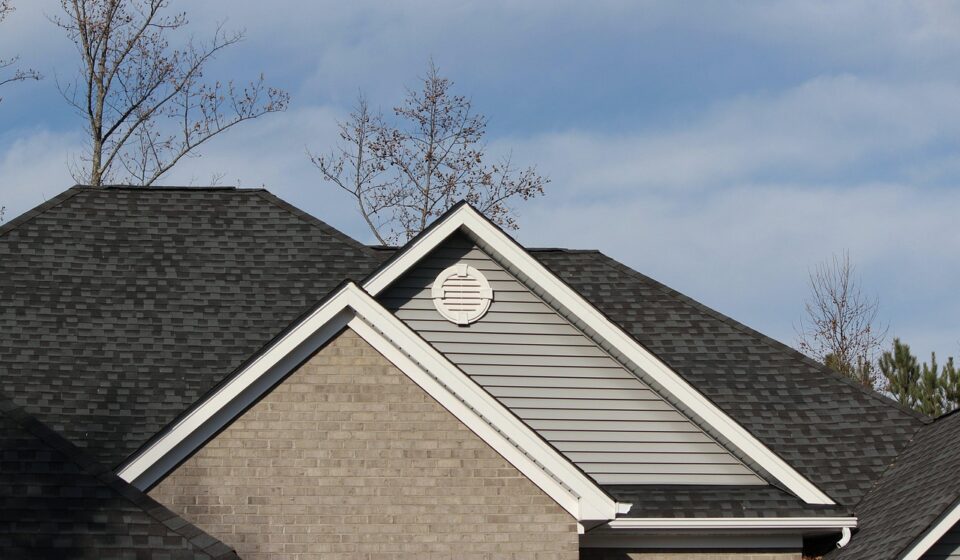
Start with airflow, not the roof opening
Installing solar roof vent fans should start with the attic ventilation system, not with the saw cut. The roof opening, flashing, sealing, and maintenance all matter, but the fan can only perform properly if the attic has a workable intake and exhaust path. A solar roof vent can help remove hot attic air when sunlight is available. It will not correct blocked intake vents, weak insulation, or air leaks between the living space and the attic. ENERGY STAR guidance cautions that attic fans may pull conditioned air from the home if the attic floor is not well sealed or if soffit and gable intake vents are restricted.
For homeowners comparing renewable home upgrades, the practical question is not whether a solar fan can spin. It is whether the roof, attic, and intake path can support the fan without creating leaks or pressure problems. This guide focuses on that decision and the installation sequence. For more related homeowner planning resources, visit our buying guides.
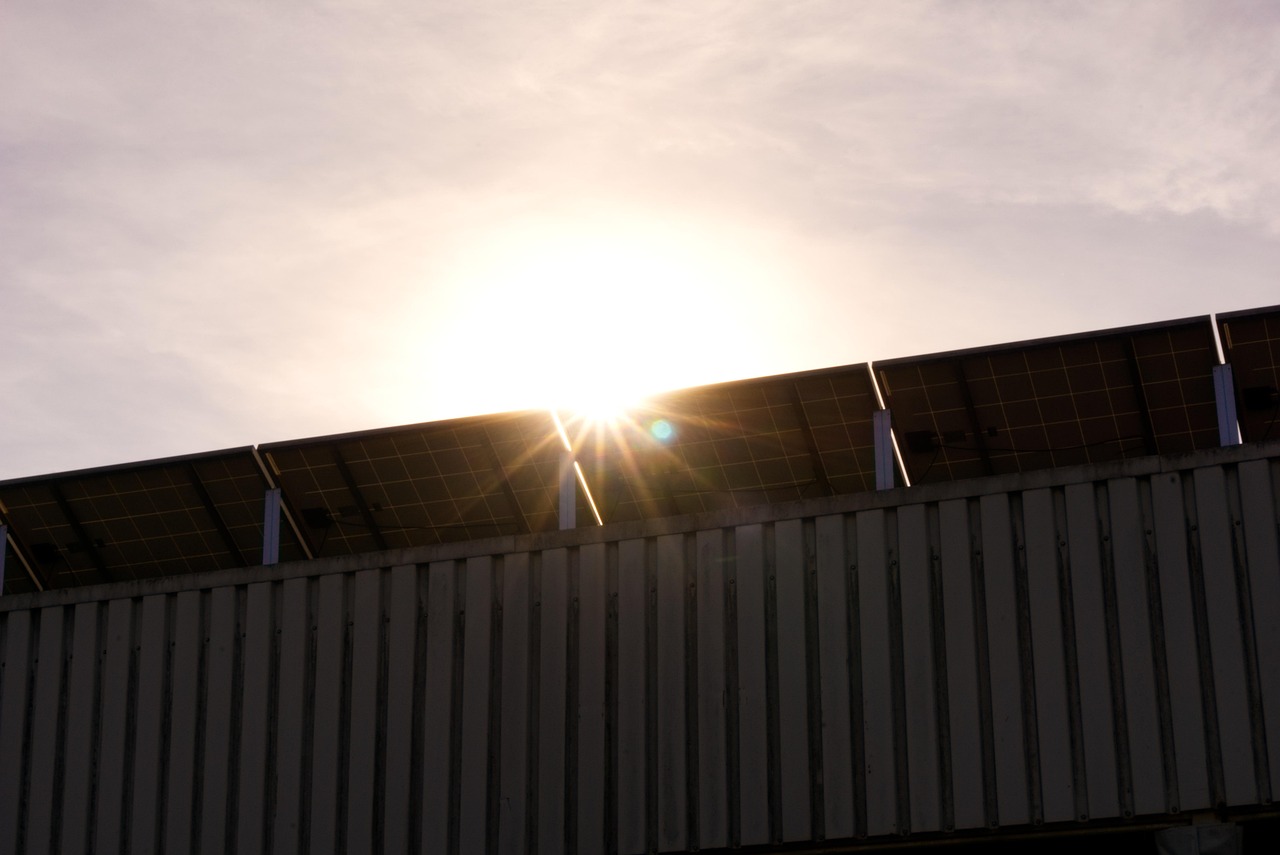
Confirm whether a solar roof vent fits your attic
A solar roof vent, often called a solar attic fan, is a roof-mounted exhaust fan powered by a small photovoltaic panel. In a vented attic, it is intended to remove hot air near the top of the roof space while replacement air enters through soffit, eave, or other low intake vents. Because the fan runs strongest when sunlight is available, its operating pattern usually lines up with hot, sunny periods.
That does not make it a universal energy upgrade. If the attic has inadequate intake, the fan may draw air from easier paths, including ceiling gaps, recessed light openings, attic hatches, plumbing penetrations, or duct leaks. If the home already has a well-balanced ridge and soffit system, adding a powered exhaust fan can disturb that natural flow and pull air from nearby exhaust vents instead of from the soffits. If the attic is intentionally unvented and insulated at the roof deck with spray foam or another approved assembly, adding a roof exhaust fan may be inappropriate.
A solar roof vent is more likely to make sense when the attic is conventionally vented, the roof has enough clear area for proper flashing, the intake vents are open, and the homeowner understands that air sealing and insulation remain the primary comfort and energy measures. Treat the fan as one part of the attic system, not as a replacement for that system.
Check ventilation math before choosing a fan
Ventilation sizing is often misunderstood because fan airflow ratings and code ventilation area are not the same thing. A solar fan may advertise airflow in cubic feet per minute, while building codes often refer to net free ventilation area. Net free area is the open area available for air to pass through after screens, louvers, and grilles are considered.
Many U.S. jurisdictions base attic ventilation rules on versions of the International Residential Code. IRC Section R806 has commonly required minimum net free ventilating area of 1/150 of the vented attic space, with a 1/300 option only when specified conditions are met, including a balanced distribution of upper and lower ventilation. Local amendments and adopted code editions vary, so check with the local building department and the roof vent manufacturer before installation.
| Attic floor area | Baseline 1/150 net free area | Approximate intake and exhaust split | Balanced 1/300 net free area |
|---|---|---|---|
| 1,000 sq ft | 960 sq in total | About 480 sq in intake and 480 sq in exhaust | 480 sq in total |
| 1,500 sq ft | 1,440 sq in total | About 720 sq in intake and 720 sq in exhaust | 720 sq in total |
| 2,000 sq ft | 1,920 sq in total | About 960 sq in intake and 960 sq in exhaust | 960 sq in total |
These figures are planning examples, not permit calculations. The important point is that adding exhaust without enough intake can create a stronger fan but a poorer ventilation system. Before buying a unit, measure the attic floor area, list the existing soffit, gable, ridge, and static vents, and compare the manufacturer’s required intake area with the local code basis.
Choose a roof location that supports drainage and airflow
Placement affects both performance and leak risk. In most vented attics, an exhaust fan belongs in the upper portion of the roof space because hot attic air collects high. However, the fan should not sit so close to a ridge vent or static exhaust vent that it pulls outside air from that nearby opening instead of drawing from the lower intake vents. This short-circuiting reduces the value of the installation.
From inside the attic, identify rafters, trusses, wiring, plumbing vents, bath fan ducts, chimney clearances, and any existing roof penetrations. The opening should fit between framing members. Cutting a rafter or truss chord is not a normal DIY adjustment; it can create a structural issue and should trigger professional review.
From the roof surface, avoid valleys, hips, low-slope transitions, skylight corners, dormer sidewalls, and other areas where water naturally concentrates. On asphalt shingles, the vent flashing must integrate with the shingle courses so water flows over the lower flashing and away from the roof deck. On tile, slate, metal, or very steep roofs, the correct flashing method can be very different from standard shingle instructions. In those cases, a roofer familiar with the roof material is usually the safer choice.
Solar exposure also matters. A panel shaded by a chimney, tree, dormer, or nearby photovoltaic array will reduce fan operation. Some units include an adjustable or remote solar panel, which can help when the best roof penetration location is not the best solar collection location.
Prepare tools, materials, and safety checks
Most asphalt-shingle installations require a manufacturer template, tape measure, chalk or marker, drill, reciprocating saw or jigsaw, flat pry bar, roofing nails or screws specified by the manufacturer, compatible roofing sealant, replacement shingles if needed, and personal protective equipment. Fall protection is not optional. A dry roof, stable ladder, non-slip footwear, eye protection, and a helper on the ground reduce avoidable risk.
Before work begins, read the installation manual for the exact model. Manuals differ on cutout size, fastener type, sealant placement, thermostat or humidistat settings, and whether exposed fastener heads need sealing. Also check the roof warranty. Some warranties require approved accessories or professional installation for penetrations. If the fan includes an AC backup, hardwired controller, or connection beyond a self-contained solar module, an electrician may be required.
Weather timing is another practical factor. Do not open a roof when rain is forecast, when shingles are brittle from cold, or when high heat makes roof work unsafe. Plan enough time to complete cutting, flashing, fastening, and inspection in one session. See also: solar products.
Follow a careful installation sequence
- Mark the location from inside the attic. Choose a bay between framing members and confirm there are no wires, ducts, pipes, or stored items below. Drive a small pilot fastener through the roof deck at the center point so it can be found from above.
- Lay out the cut from the roof side. Use the manufacturer template rather than guessing from the fan diameter. The opening should match the unit, not simply the size of the visible dome.
- Loosen the surrounding shingles carefully. For asphalt shingles, the upslope portion of the flashing normally slides under upper shingle courses, while the lower portion remains over the shingles below. This shingle-lap principle is more important than surface sealant.
- Cut only the roof deck opening. Set the saw depth to avoid unnecessary damage below the sheathing. Remove the cutout and clear loose debris from the attic.
- Dry fit the vent before sealing. Confirm that the fan sits flat, the upper flashing can tuck under the shingles, the lower flashing drains freely, and the housing is centered over the cutout.
- Apply sealant only where the manual specifies. Sealant can help at seams, fasteners, and designated contact points, but it should not be used as the only water-control layer. Do not block drainage channels or weep paths designed into the flashing.
- Fasten the unit evenly. Use the required number and type of fasteners. Overdriven fasteners can deform flashing or damage shingles, while underdriven fasteners can leave gaps.
- Re-lap and secure shingles. Replace damaged shingles and reseal lifted tabs as appropriate for the roofing material and temperature conditions.
- Connect controls and test operation. Verify that the solar panel is connected, the fan spins under suitable sunlight, and any thermostat or humidistat is set according to the manufacturer’s instructions.
- Inspect from the attic. Look for daylight around the wrong areas, loose decking pieces, pinched wires, and signs that insulation has blocked intake paths.
After installation, inspect during the next rain or perform a gentle water check from above without forcing water upslope under shingles. A leak that appears immediately should be treated as a flashing or housing problem, not as normal break-in.
Avoid the mistakes that cause poor performance
The most common mistake is adding a powered exhaust fan before fixing intake. Soffit vents can be blocked by insulation, paint, dust, bird nests, or poorly installed baffles. If the intake path is closed, the fan will still move air, but not necessarily the air you want it to move.
A second mistake is mixing exhaust types without a plan. A solar fan installed near a ridge vent, gable vent, or static roof vent can pull replacement air from that nearby exhaust opening. The attic may show fan activity while the lower roof deck and soffit-to-ridge path remain under-ventilated.
A third mistake is ignoring the attic floor. Gaps around ceiling fixtures, attic stairs, top plates, plumbing chases, and duct penetrations can let conditioned indoor air enter the attic. DOE and ENERGY STAR guidance consistently place air sealing and insulation at the center of attic energy performance. A solar fan added to a leaky attic may increase air movement without improving comfort.
Other avoidable errors include installing the unit in shade, using the wrong flashing for the roof type, placing the fan where roof water concentrates, assuming one fan fits every attic size, and skipping post-storm inspections. None of these problems are solved by choosing a larger fan.
Maintain the vent after installation
A solar roof vent is low-maintenance, not no-maintenance. At least once a year, inspect the exterior for cracked sealant, lifted shingles, damaged flashing, debris buildup, loose fasteners, and bird or insect obstruction at the screen. Clean the solar panel gently if dust, pollen, leaves, or snow reduce exposure. From inside the attic, check for water staining, damp insulation, rust marks, unusual noise, or a fan that does not operate in direct sun.
Call a professional if the roof is steep, high, tile, slate, metal, under warranty, or already carrying rooftop solar equipment near the planned work area. Also get help if the attic shows mold, chronic condensation, ice-dam history, significant duct leakage, or signs that the roof assembly may be unvented rather than vented. In those cases, the correct repair may involve building science and roofing details beyond a simple fan installation.
Frequently asked questions
Can I install a solar roof vent myself?
Some homeowners can install a self-contained solar attic fan on an accessible asphalt-shingle roof, but the work still involves fall risk and a permanent roof penetration. If you are unsure about flashing, roof pitch, wiring, or warranty requirements, hire a qualified roofer or installer.
Where should a solar roof vent be installed?
It is usually placed high on a vented roof area, between framing members, with clear solar exposure and enough distance from other exhaust vents to reduce short-circuiting. The exact location should also respect drainage paths, roof material, and the manufacturer’s instructions.
Will a solar roof vent lower energy bills?
It may reduce attic heat under some conditions, but energy savings are not guaranteed. Air sealing, insulation, duct sealing, adequate intake ventilation, climate, roof color, and HVAC location all affect results. Treat savings claims cautiously unless they are backed by conditions similar to your home.
Can I add a solar attic fan if I already have a ridge vent?
Sometimes it is possible, but it can also be counterproductive. A powered fan near a ridge vent may pull air from the ridge instead of from soffit intake vents. Before combining systems, calculate intake and exhaust area and consider asking a roofing or energy professional to review the attic layout.
How many solar roof vents do I need?
The number depends on attic floor area, existing net free ventilation area, available intake, fan capacity, roof layout, and local code requirements. Do not size only by attic square footage on a product label. Confirm that each added exhaust fan has enough low intake air to support it.